Low Sodium Bread Recipe (No Knead, Reduced Salt)
This post may contain affiliate links, please see our Privacy Policy for more information.
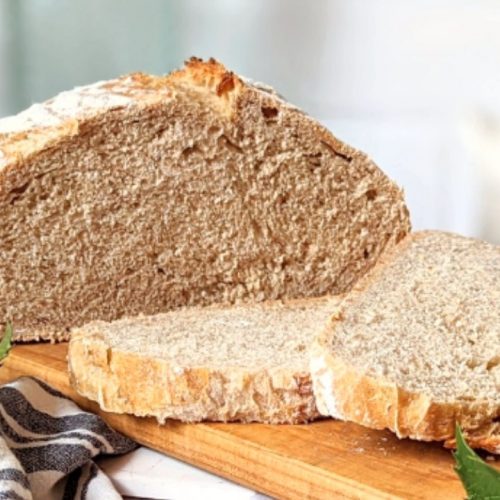
Jump to RecipeThis low sodium bread recipe is made with just 4 ingredients: flour, yeast, salt, and water. It uses less salt than traditional store-bought bread and is great for a sandwich, to serve with soup, or for toast.
All you need is a Dutch oven or pot with a oven-proof lid, a mixing bowl, and a stirring spoon. Serve with unsalted butter for a delicious side dish, turn it into delicious low sodium garlic bread, or serve with your favorite low salt soup or stew.
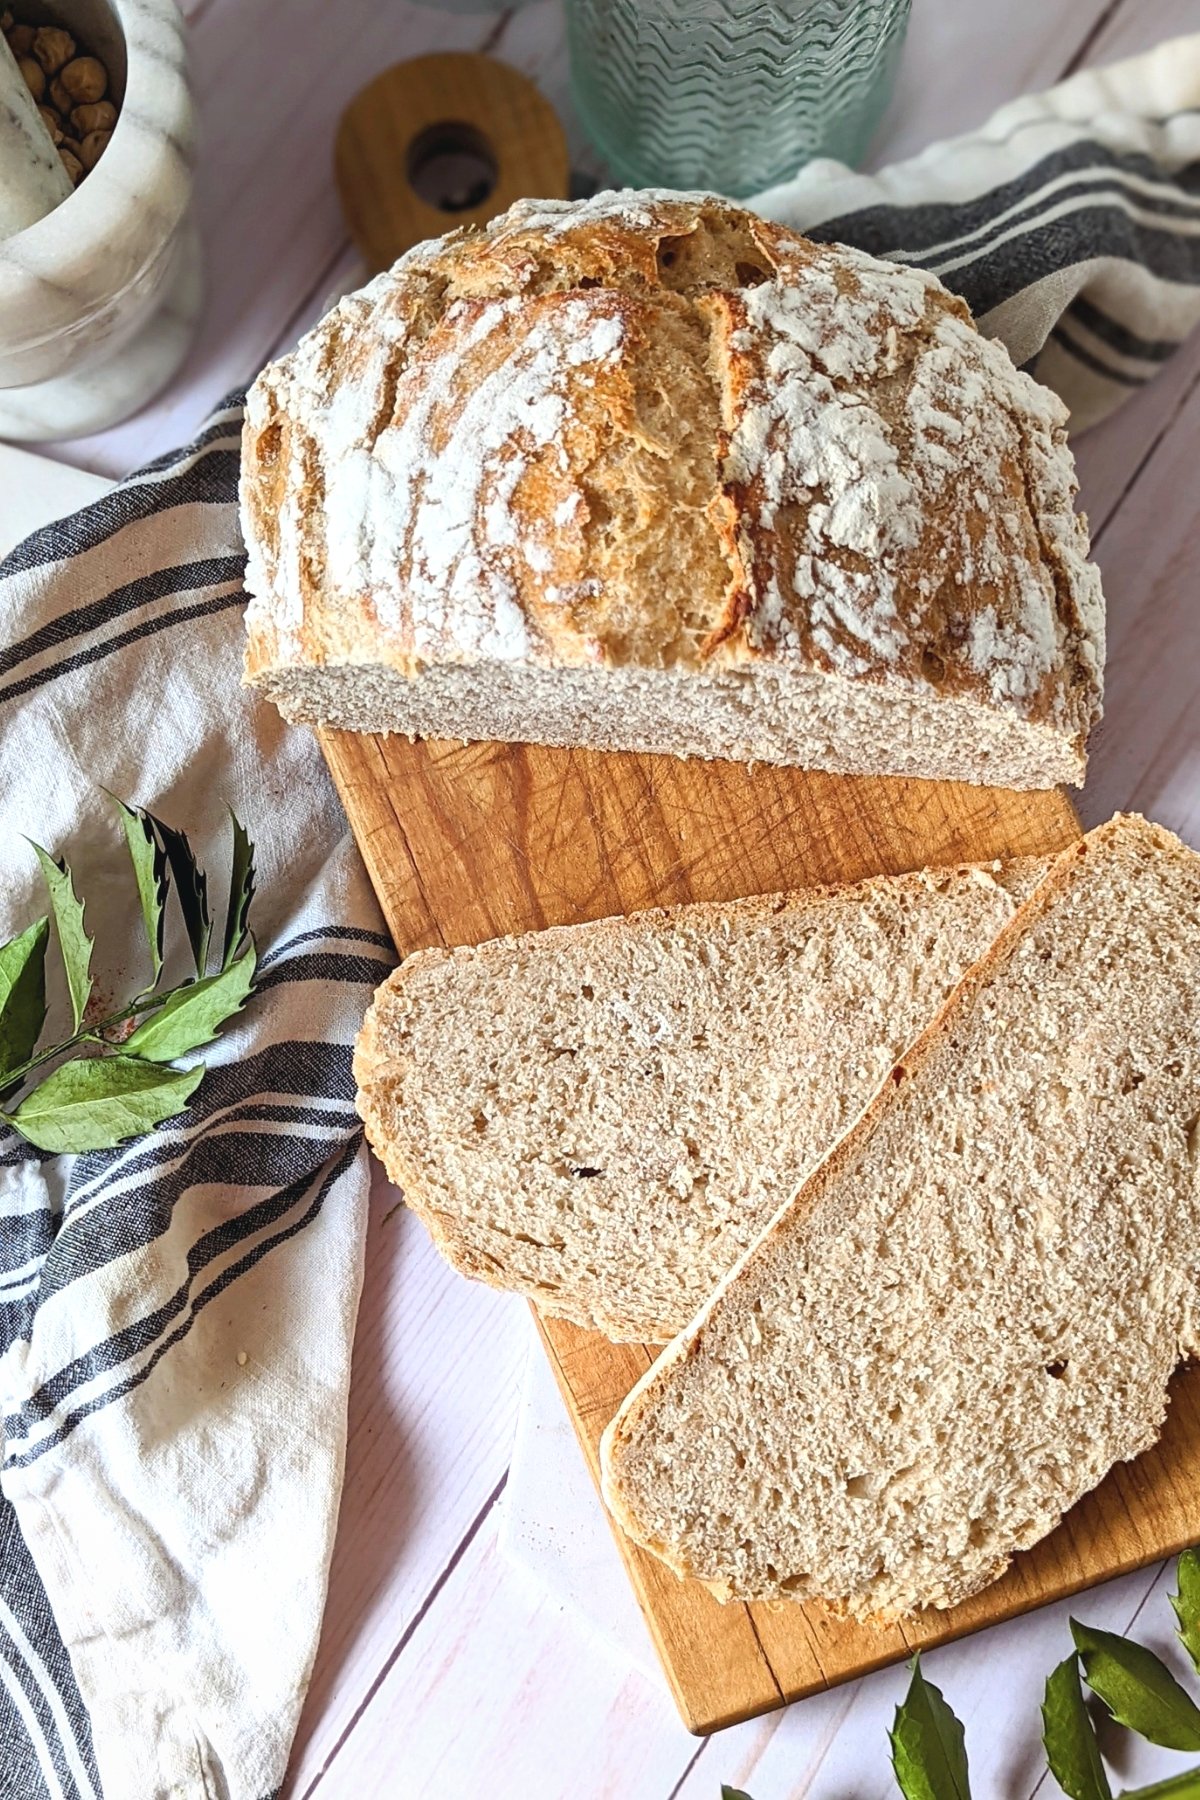
This is a game-changing low sodium bread recipe right here! It has about a quarter of the sodium as traditional homemade bread, and tastes just as amazing.
We bake a big loaf of this bread every other weekend. Its great for a brunch, with a chili bar for dinner parties, or even to bring over to a friend/neighbor as a little homemade gift. It’s consistently my most asked-for recipe when I have friends over. Everyone loves this bread!
This Low Sodium Bread Recipe Is
- Warm
- Simple
- Wholesome
- Crunchy on the Outside
- Soft in the middle
- Made with Pantry Staple Ingredients Only!
Low Sodium Baking
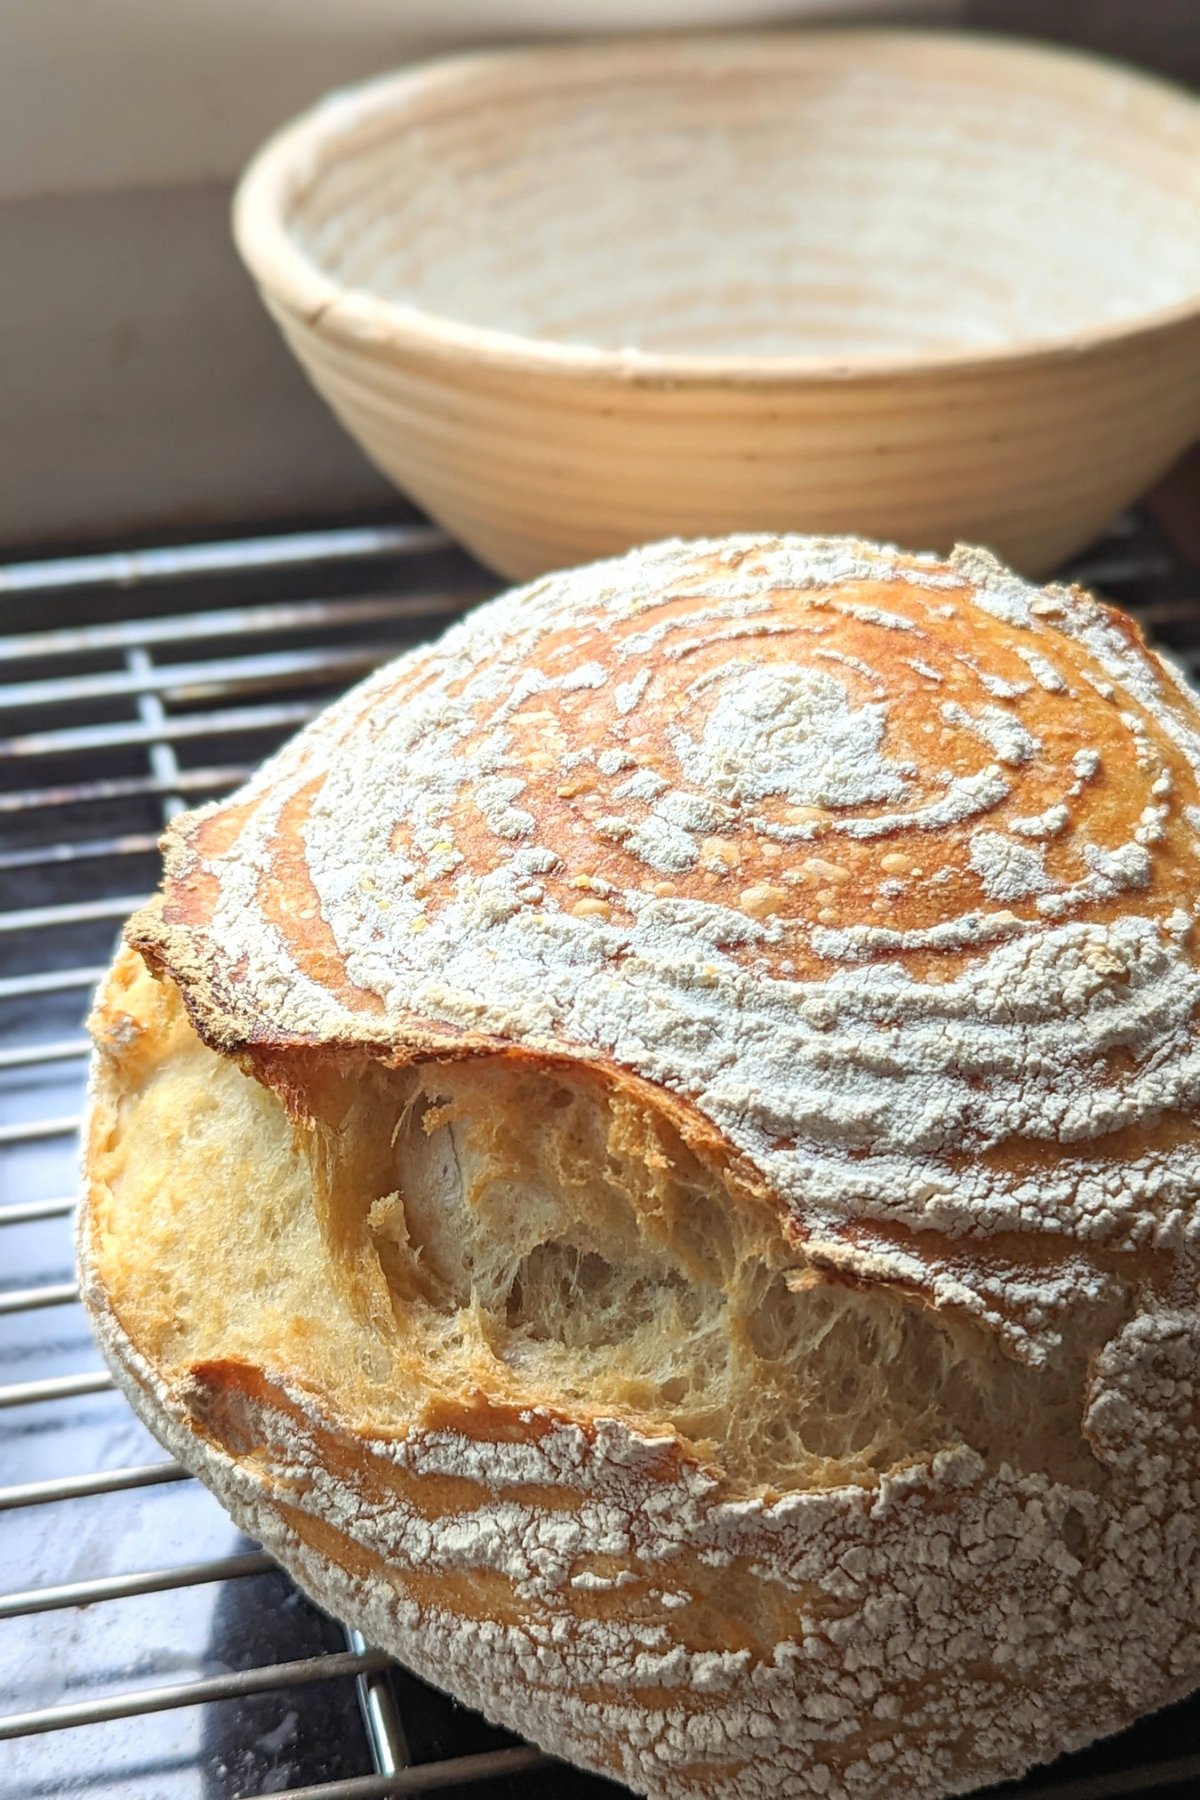
Don’t be intimidated by bread baking, this recipe makes the process simple. Mix the dry ingredients, add water, let rise overnight, fold, let rise again, and bake. Follow those easy steps you have a perfect, professional-looking, very impressive loaf of perfectly baked bread. Not to mention, you also will have a kitchen full of the smells of freshly baked bread, which is the best way to wake up on a weekend.
I use a 6-quart Dutch Oven which is just the right size for this recipe. There are some majorly *pricey* Dutch Ovens out there, but honestly any enameled cast iron one will work.
And totally optional – but if you want the perfect little swirl design on top, I use this Banneton proofing bowl for the second rise. It’s inexpensive and the bamboo allows the dough to pull air in for the perfect crumb. Can you make bread without a proofing bowl? Absolutely! But I make this low sodium bread so often it was worth the small investment for me to get a banneton bowl… and plus perfect swirl design makes me feel like a pro baker.
Ingredients
See the recipe card below for a full list of instructions and ingredient amounts!
- All Purpose Flour
- Pink Himalayan Sea Salt: I use about quarter of the salt than normal bread recipes, which is why it is reduced in sodium. I haven’t tested this recipe with a sodium free salt substitute yet. If you have, comment below!
- Instant Yeast: I recently tried out this instant yeast and I absolutely love it! Instant yeast is great for both overnight breads and this easy quick whole wheat sliced bread recipe too!
- Water
How to Make This Recipe
- In a large mixing bowl, add flour, salt, and yeast, mix to combine. Add water and stir together until the dough is soft and sticky. Cover with a tea towel, and let rise 12-18 hours (I usually do it overnight) in a warm place. The kitchen counter works fine in the summer, however if it’s cold in your home, I recommend leaving it to rise in an unheated oven with the oven light turned on.
- Once the dough has risen, place a bread board on the counter and sprinkle with enough flour to cover the surface. Remove the dough onto the board, and begin folding. Take the corners closest to you and fold over the corners farthest from you, and repeat with the far corners and bring them in. Fold 5 or 6 times, and place back in the mixing bowl (or a sperate bamboo proofing bowl, if using). Sprinkle the top of the dough with flour, and cover with a tea towel and allow dough to rise again for an additional 1-2 hours.
- When ready to bake, place a large cast-iron Dutch oven pot into the oven. Heat the oven to 450 degrees Fahrenheit with the pot inside. Once the oven reaches temperature, carefully remove the hot Dutch oven pot, and place the dough into the pot. Cook covered for 30 minutes. Then remove the lid and cook uncovered for an additional 10-15 minutes until top crust is brown.
- When bread is finished, carefully tip the bread from the pot onto a cooling rack. Cool until you can no longer resist.
Enjoy a Slice of this Low Sodium Bread with
- Low Sodium Beef Stew Recipe
- Low Sodium Egg Salad Recipe
- Salt Free Scrambled Eggs Recipe
- Low Sodium Sloppy Joes Recipe
- Low Sodium Avocado Toast Recipe
Share This Low Salt Bread Recipe
Let’s keep in touch – don’t forget to follow over on Instagram, Facebook, & my Youtube channel for more easy low sodium recipes.
If you made this recipe please leave a star rating & comment below. Your feedback helps other people who are making this recipe.

Our FIRST Low Sodium Cookbook is now available!
Check out Low Sodium Dinners: 100+ Low Sodium Recipes That Actually Taste Good, available here:
Low Sodium Bread (No Knead)
Equipment
- Dutch Oven
- Mixing Bowls
- Wooden Spoon
Ingredients
- 4 cups all-purpose flour
- 1 teaspoon instant yeast
- ½ teaspoon sea salt see note below
- 2 cups water
Instructions
- In a large mixing bowl, add flour, salt, and yeast, mix to combine. Add water and stir together until the dough is soft and sticky. Cover with a tea towel, and let rise 12-18 hours (I usually do it overnight) in a warm place. The kitchen counter works fine in the summer, however if it’s cold in your home, I recommend leaving it to rise in an unheated oven with the oven light turned on.
- Once the dough has risen, remove the tea towel. Start folding the dough inside the bowl. Free the dough from the sides of the bowl with your hands, and take the 2 corners closest to you and fold over the corners farthest from you, and repeat with the far corners and bring them in. Fold 5 or 6 times in the bowl. Leave the dough in the bowl for a second rise, or place a bamboo proofing bowl, if using. Sprinkle the top of the dough with flour, and cover with a tea towel and allow dough to rise again for an additional 1-2 hours.
- When ready to bake, place a large cast-iron Dutch oven pot into the oven. Heat the oven to 450 degrees Fahrenheit with the pot inside. Once the oven reaches temperature, carefully remove the hot Dutch oven pot, and place the dough into the pot. Cook covered for 30 minutes. Then remove the lid and cook uncovered for an additional 10-15 minutes until top crust is brown.
- When bread is finished, carefully tip the bread from the pot onto a cooling rack. Cool until you can no longer resist.
Notes
Nutrition estimate (for 1 serving)
*Please note, all nutrition content is estimated based on the ingredients we used in our kitchen. It will vary based on your ingredients. Always check your nutrition labels to verify your nutrition content and sodium amounts.
This post may contain affiliate links. Please note I may earn a small commission from qualifying purchases from affiliate programs, at no additional cost to you. Please read our privacy policy for more information.


It is very very good
My husband came home from the hospital today after being there for 7 days in conjestive heart failure and renal failure. I am a retired nurse but not great on recipes to help him eat healthy. Thank you, I will make this bread for him.Peggy Burnette
I went looking for just a few low sodium recipes and I just kept reading more and more of your recipes. I really have to reduce my blood pressure and weight , a total lifestyle change really and your recipes and the sodium content you list are really helpful!!
Thank You
This bread has a tasty beautiful crust on the outside yet soft and delicious inside. WOW
does the water need to be warm? I have never made bread, I really want to learn.
Hi Jill – I do like to use warm water, as it activates the yeast! If it’s warm in your home it may not make much of a difference, but I do like using warm water for this recipe 🙂
– Kelly
Just to make sure I understand correctly, each loaf makes 16 slices and each slice is 111mg sodium?
Hi Jenny, yes that is correct – great question!
Have a few questions.
What size does the cast iron dutch oven need to be?
Also I will be moving from a place that uses electricity to cook with to a place that uses gas to cook with. Is there a difference in temperatures for the oven to use? Also how do you tell with a gas stove when it is at the temperature that you need? How do I let it rise in an oven that cooks with gas if the house isn’t warm enough?
I apologize for all the questions but want to make sure that I can cook at my new place.